
This post is all about raising baby chicks for beginners!
Embarking on the journey of raising baby chicks can be an exciting and rewarding experience for beginners eager to delve into the world of poultry care!
If you've ever wondered how to take care of a baby chick at home or sought guidance on raising baby chicks week by week, you're in the right place. This blog post is designed as a comprehensive guide for novice chicken keepers, answering the question: How do you raise baby chicks for beginners?
From the initial setup of a warm and secure brooder to the week-by-week insights into feeding, heat requirements, and overall care, this resource aims to provide the essential knowledge and practical tips to ensure the successful nurturing of your adorable feathered companions!
Whether you're new to poultry parenting or simply seeking a reliable reference, let's embark on this exciting journey of chick rearing together. ☺️
Enjoy this guide on raising baby chicks for beginners!
This post may contain affiliate links. You can read our full disclaimer here.
Essentials of Raising Baby Chicks for Beginners
What do I need to raise baby chicks?
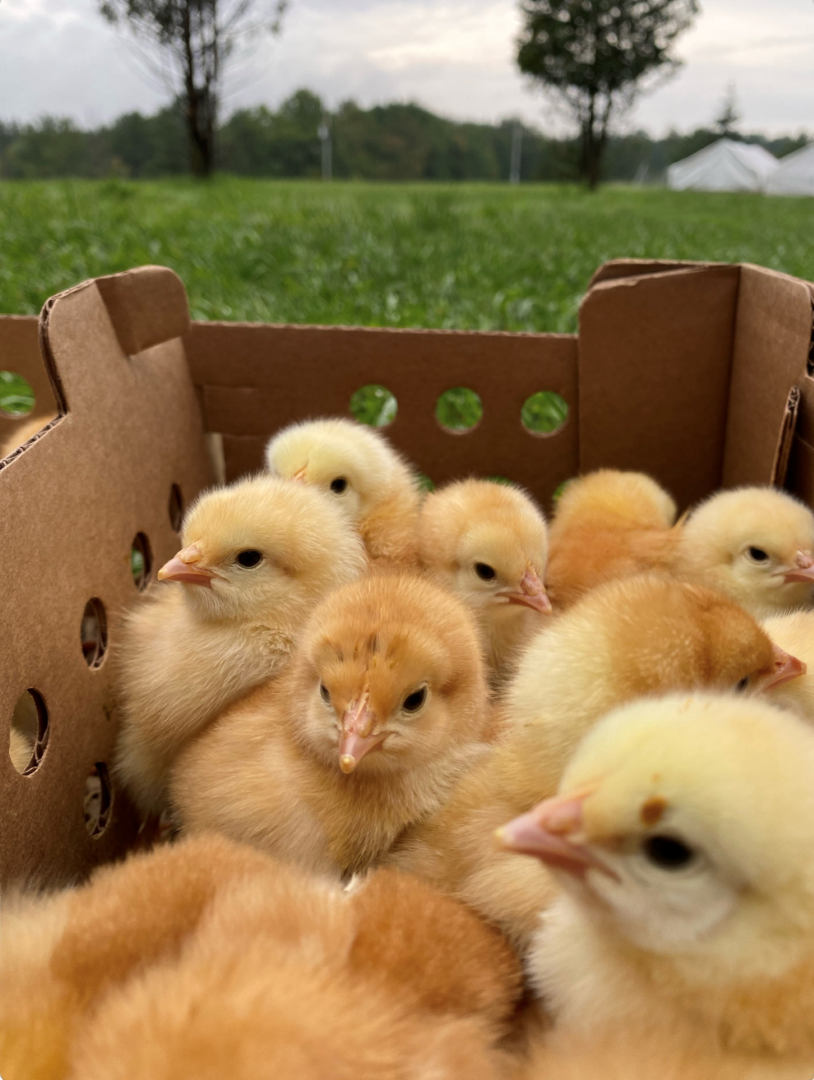
Raising baby chicks is typically one of the first things people will do when they want to start homesteading. And rightfully so! Baby chicks are one of the lower maintenance farm animals you can get, which makes them the perfect starter animal. However, chicks require careful attention to their needs to ensure they grow into healthy and happy chickens. Below is a basic checklist of what you'll need for your precious chicks. We will link all of the exact products we use here at Faith Farms!- Brooder: A secure and draft-free brooder is essential for keeping chicks warm. You can use a cardboard box, plastic tub, or a dedicated brooder. Ensure it has a heat source, such as a heat lamp or a specialized brooder heater. -- Here's the brooder kit we use at Faith Farms!
- Heat Source: Chicks need to be kept warm, especially during the first few weeks of their lives. A heat lamp with a red or infrared bulb is commonly used. Provide a temperature gradient in the brooder, allowing the chicks to move to a cooler area if needed.
- Bedding: Use appropriate bedding material like pine shavings, straw, or paper towels. Make sure it's absorbent, easy to clean, and safe for the chicks.
- Feeder: Provide a small, shallow chick feeder to ensure easy access to their starter feed. This prevents waste and contamination.
- Waterer: A clean and shallow waterer is crucial for chicks. Make sure they have access to fresh and clean water at all times. -- We use a feed and waterer set!
- Chick Starter Feed: Chicks require a specialized starter feed with the right balance of nutrients for their rapid growth. Choose a feed appropriate for their age, and avoid medicated feeds if not necessary. Here's the feed that we love!
- Grit: Once the chicks are a few days old, you can introduce chick grit to help them digest their food. Grit is small, coarse particles that aid in breaking down grains in the gizzard.
- Brooder Thermometer: Keep a thermometer in the brooder to monitor the temperature. Adjust the height of the heat source accordingly to maintain the recommended temperature for the chicks' age.
- Light Source: Provide a light source to simulate daylight hours. This helps regulate their circadian rhythm and encourages healthy growth. Use a low-wattage bulb, and ensure they have a period of darkness for rest.
- Medical Supplies: Have some basic medical supplies on hand, including a chick-sized first aid kit, electrolytes, and a contact number for a veterinarian experienced in poultry care.
- Space: As the chicks grow, they'll need more space. Plan for a gradual transition to a larger coop with appropriate bedding and equipment as they develop.

Where to keep baby chicks
How to feed baby chicks
Feeding baby chicks is crucial to ensure their proper growth and development. Here's a guide on how to feed baby chicks:- Chick Starter Feed: Use a high-quality commercial chick starter feed specifically formulated for young chicks. These feeds contain the necessary nutrients, including proteins, vitamins, and minerals, to support rapid growth.
- Medicated vs. Non-Medicated Feed: You can choose between medicated and non-medicated chick starter feeds. Medicated feeds typically contain coccidiostats to prevent coccidiosis, a common intestinal disease in chicks. Consult with a veterinarian to determine if medication is necessary for your specific situation.
- Feeding Schedule: Provide a constant supply of chick starter feed from the moment you bring the chicks home. Chicks eat frequently, so ensure that the feeder is always filled, and they have easy access to food.
- Access to Clean Water: Alongside feed, make sure the chicks have access to clean and fresh water at all times. Use a shallow waterer that is easy for the chicks to reach. Monitor the water level regularly and clean the waterer to prevent contamination.
- Grit: Around 2-3 days of age, you can introduce chick grit to help them digest their food. Grit consists of small, coarse particles that aid in breaking down grains in the gizzard.
- Feeder Placement: Position the chick feeder at a comfortable height for the chicks. Adjust the height as they grow to ensure easy access. Avoid placing the feeder directly under the heat source to prevent overheating of the feed.
- Observation: Monitor the chicks while they eat. If you notice any signs of bullying or one chick preventing others from accessing the food, consider providing multiple feeders to prevent competition.
- Transition to Grower Feed: As the chicks grow, usually around 8-10 weeks of age, transition them to a grower feed, which has a slightly lower protein content than starter feed. This transition prepares them for the later stages of development.
- Avoid Treats: While treats can be given occasionally, avoid introducing treats too early in their diet. The primary focus should be on providing a balanced and nutritionally complete starter feed.
- Consult with a Veterinarian: If you notice any health issues or abnormalities in the chicks' growth, consult with a veterinarian experienced in poultry care. They can provide guidance on adjusting the diet or addressing specific concerns.
Other Common Questions About Raising Chicks
How many chicks should a beginner start with?
A beginner should start with a small flock of around 3 to 6 chicks. This manageable number allows beginners to gain experience in raising chickens without becoming overwhelmed. It's easier to provide proper care, monitor individual chicks, and learn about their behavior, health, and needs in a smaller group. ☺️
As beginners become more confident and experienced, they can consider expanding their flock in the future if desired. Starting with a smaller number of chicks also helps ensure that resources such as space, food, and attention can be effectively managed for each bird.
RELATED POST: Mistakes to Avoid When Raising Chickens for Eggs
How long do you have to keep chicks under a heat lamp?
Chicks require a heat source, typically provided by a heat lamp or brooder heater, for the first few weeks of their lives. The duration varies based on the chicks' age and the ambient temperature.
Here's a general guideline:
1. Week 1: Keep the brooder temperature at around 95°F (35°C) for the first week. Adjust the height of the heat lamp to achieve this temperature. Provide a temperature gradient in the brooder, allowing chicks to move to cooler areas if needed.
2. Week 2: Reduce the temperature by about 5°F (2-3°C) each week until the chicks are fully feathered, usually around 5 to 6 weeks of age. By the end of the second week, aim for a brooder temperature of around 90°F (32°C).
3. Subsequent Weeks: Continue adjusting the temperature downward by 5°F (2-3°C) per week until the chicks are fully feathered. At around 5 to 6 weeks, chicks are typically able to regulate their body temperature and can be gradually acclimated to room temperature. Keep in mind that these are general guidelines, and adjustments may be necessary based on the chicks' behavior.
If the chicks huddle together under the heat source, they might be too cold, and if they avoid the heat, they might be too warm. Regular observation and responsiveness to the chicks' behavior are essential for providing the right conditions.
It's crucial to consider the ambient temperature in the brooder area and make adjustments accordingly. Additionally, monitor the chicks closely during the weaning process to ensure they are comfortable without the heat source.
Do I leave heat lamp on baby chicks all night? Do baby chicks need light at night?
During the first week or two of a chick's life, it's generally recommended to provide continuous light, including during the night. Chicks require a warm environment, and the heat lamp serves this purpose.
Keeping the heat lamp on throughout the night helps maintain the desired temperature in the brooder and ensures that the chicks stay warm. As the chicks grow and their feathers develop, they become better equipped to regulate their body temperature.
Around 5 to 6 weeks of age, many chicks are sufficiently feathered and can start to tolerate cooler temperatures. At this point, you can consider gradually reducing the amount of light provided during the night.
Here's a general guideline:
1. First Week: Keep the heat lamp on 24 hours a day to maintain a consistent warm environment.
2. Weeks 2-3: Consider gradually reducing the light during the night by providing a period of darkness. For example, you might turn off the heat lamp for a few hours during the night. However, ensure that the brooder temperature remains within the recommended range for the chicks' age.
3. Weeks 4-5: Continue to reduce the amount of light during the night. By this stage, chicks are more feathered and better able to handle variations in temperature.
4. Weeks 6 and Beyond: Once the chicks are fully feathered and can maintain their body temperature without the heat lamp, you can provide complete darkness during the night. It's important to observe the chicks' behavior and adjust the lighting based on their needs.
As stated previously, if they huddle together for warmth, they might be too cold, and you may need to keep the heat lamp on longer.
On the other hand, if they are active and spread out in the brooder, they might be ready for less light and lower temperatures during the night. Always prioritize the well-being and comfort of the chicks when making adjustments.
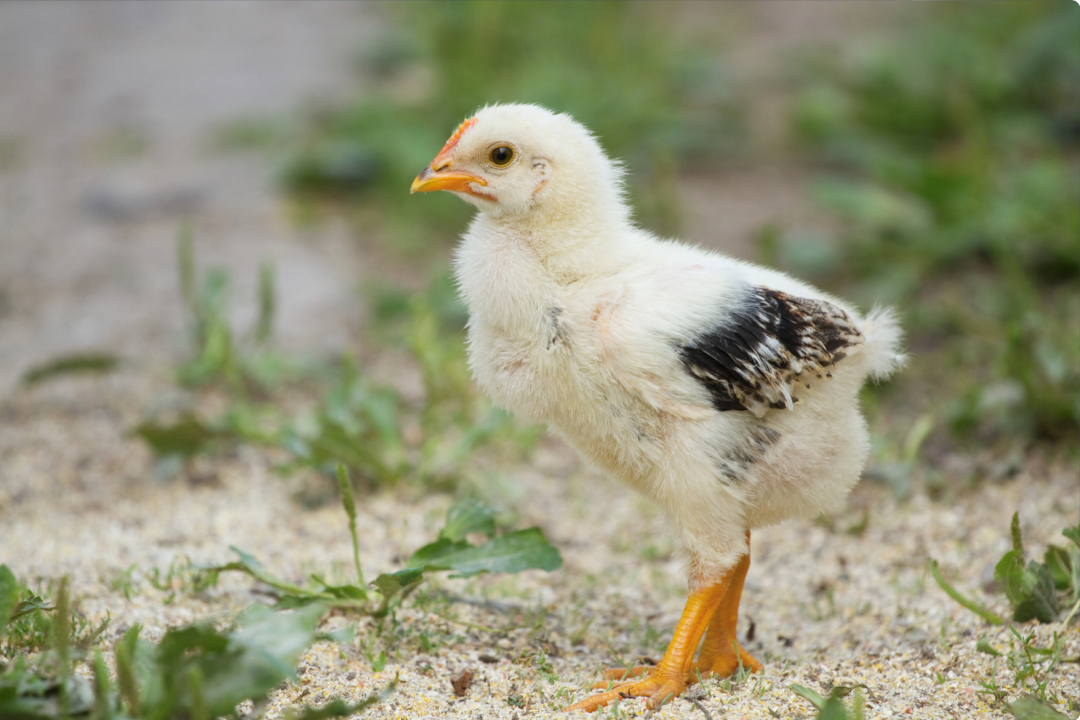
How long can you keep baby chicks inside? When can chicks go outside permanently?
The duration for raising baby chicks inside depends on various factors, including their age, feather development, and weather conditions.
Here are some general guidelines:
1. Brooder Stage: For the first few weeks of their lives, typically up to 5 or 6 weeks, baby chicks need to be kept in a warm brooder environment. During this time, they are not yet fully feathered and require supplemental heat to maintain their body temperature. The brooder should provide a secure, draft-free space with access to food, water, and appropriate bedding.
2. Transition to Coop: Once the chicks are fully feathered, usually around 5 to 6 weeks of age, and can regulate their body temperature independently, they can be transitioned to an outdoor coop. However, the timing of this transition depends on the local climate and weather conditions. Ensure that nighttime temperatures are not too cold for the chicks without supplemental heat. Also, be sure to read up on taking care of chickens in the winter.
3. Outdoor Environment: If outdoor temperatures are mild and the chicks are fully feathered, they can be moved to an outdoor coop earlier. In some cases, this transition may occur as early as 4 weeks of age. However, it's crucial to monitor the weather and the chicks' behavior to ensure they are comfortable and not stressed.
4. Adjustment Period: When moving chicks outdoors, allow for a gradual adjustment period. Start by placing them in a protected area with access to the outdoors during the day and bring them back inside at night. This helps them acclimate to the outdoor environment before being fully integrated into the coop.
Always consider the specific needs of the chicks, the local climate, and the conditions in the coop when deciding when to transition them outdoors. Providing a gradual and comfortable adjustment will contribute to the successful integration of baby chicks into an outdoor environment.
How do you introduce new chicks to your flock?

Here you can learn all about how to introduce new chickens to your existing flock, as this is extremely important in ensuring the safety of your precious chicks.
This post was all about raising baby chicks for beginners! Do you have any questions? Feel free to comment below and we'd love to help!